Lonnyo 60H 160mm Brake Adapter
Overview
This guide shows how to mount the brake adapter for the Lonnyo 60H motor on the G3 rear suspension.
Disclaimer
This guide describes structural vehicle modifications, including material removal from load-bearing components and installation of non-original motor and braking parts. Such modifications may affect structural integrity, safety, and legal compliance, and may void manufacturer warranties. All work is performed at your own risk. The author assumes no liability for damage, injury, accidents, or legal consequences resulting from the use of this information. Continue only after you accept these terms. By proceeding, you agree that the author is not responsible for accidents, injury, or damage. Compliance with applicable laws and safety regulations must be verified independently before operating a modified vehicle. I accept responsibility and release the author from liability.
Requirements
- Vernier caliper
- Angle grinder
- 160mm brake disc
- 2mm brake disc spacer
- Magura MT5 (other brake calipers may fit)
- 2× M6×16mm screws (brake caliper)
- 2× M6×8mm screws (brake adapter)
- 2mm washer
- 4mm torque washer
For Magura MT5
- Disc caliper screw hydraulic hose joint bolt
- Bicycle Hydraulic Cable End Connector Banjo Set Aluminium Alloy
- Screw from brake disk
Step 1 - Modifying the rear suspension
In this step, we cover modifying the rear suspension. Only continue when you fully understand what you're doing.
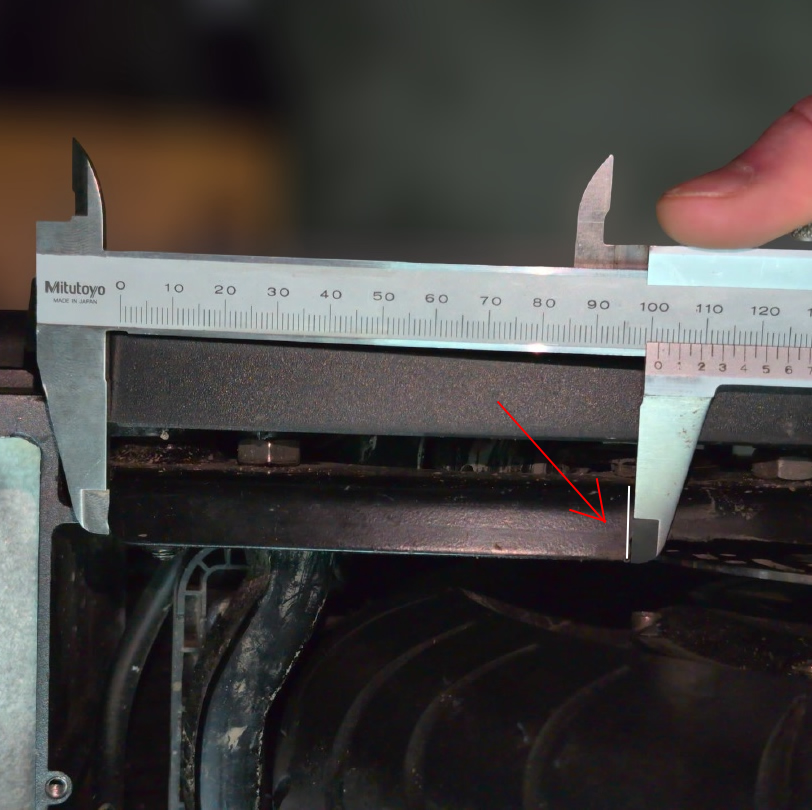
First, we are going to cut two pieces out of the lower part of the rear suspension.
The length from the start of the suspension is about 101.5mm. Draw a line like shown in the picture below.
Next, you're going to cut a 5mm deep line from the inside of the suspension to the outside, following the white line you drew.
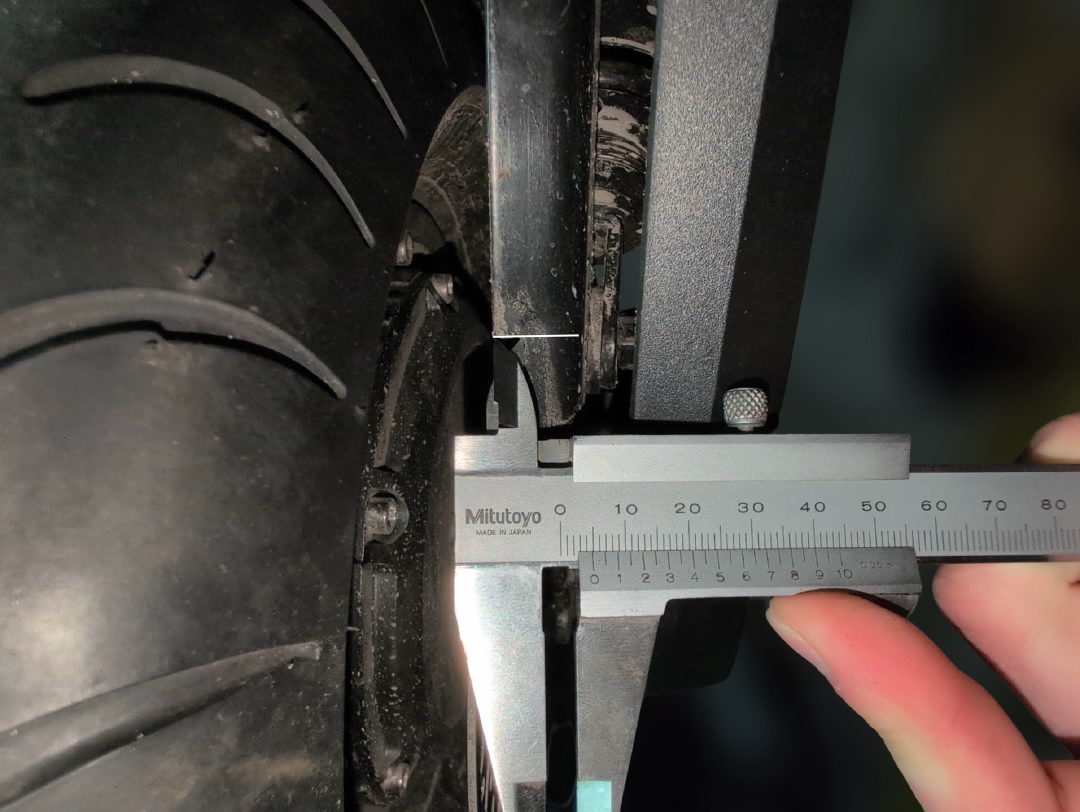
The final cut you need to make is the length line from the end of the suspension.
Step 2 - Modifying and swapping the suspension screw
We're going to modify the screw which is holding the suspension. The main issue here is that the screw will interfere with the brake disc. You now need to swap the screw sides so that the head is on the inside and the nut is on the outside. Trim the bolt head so that it fits and doesn't touch the brake disc.

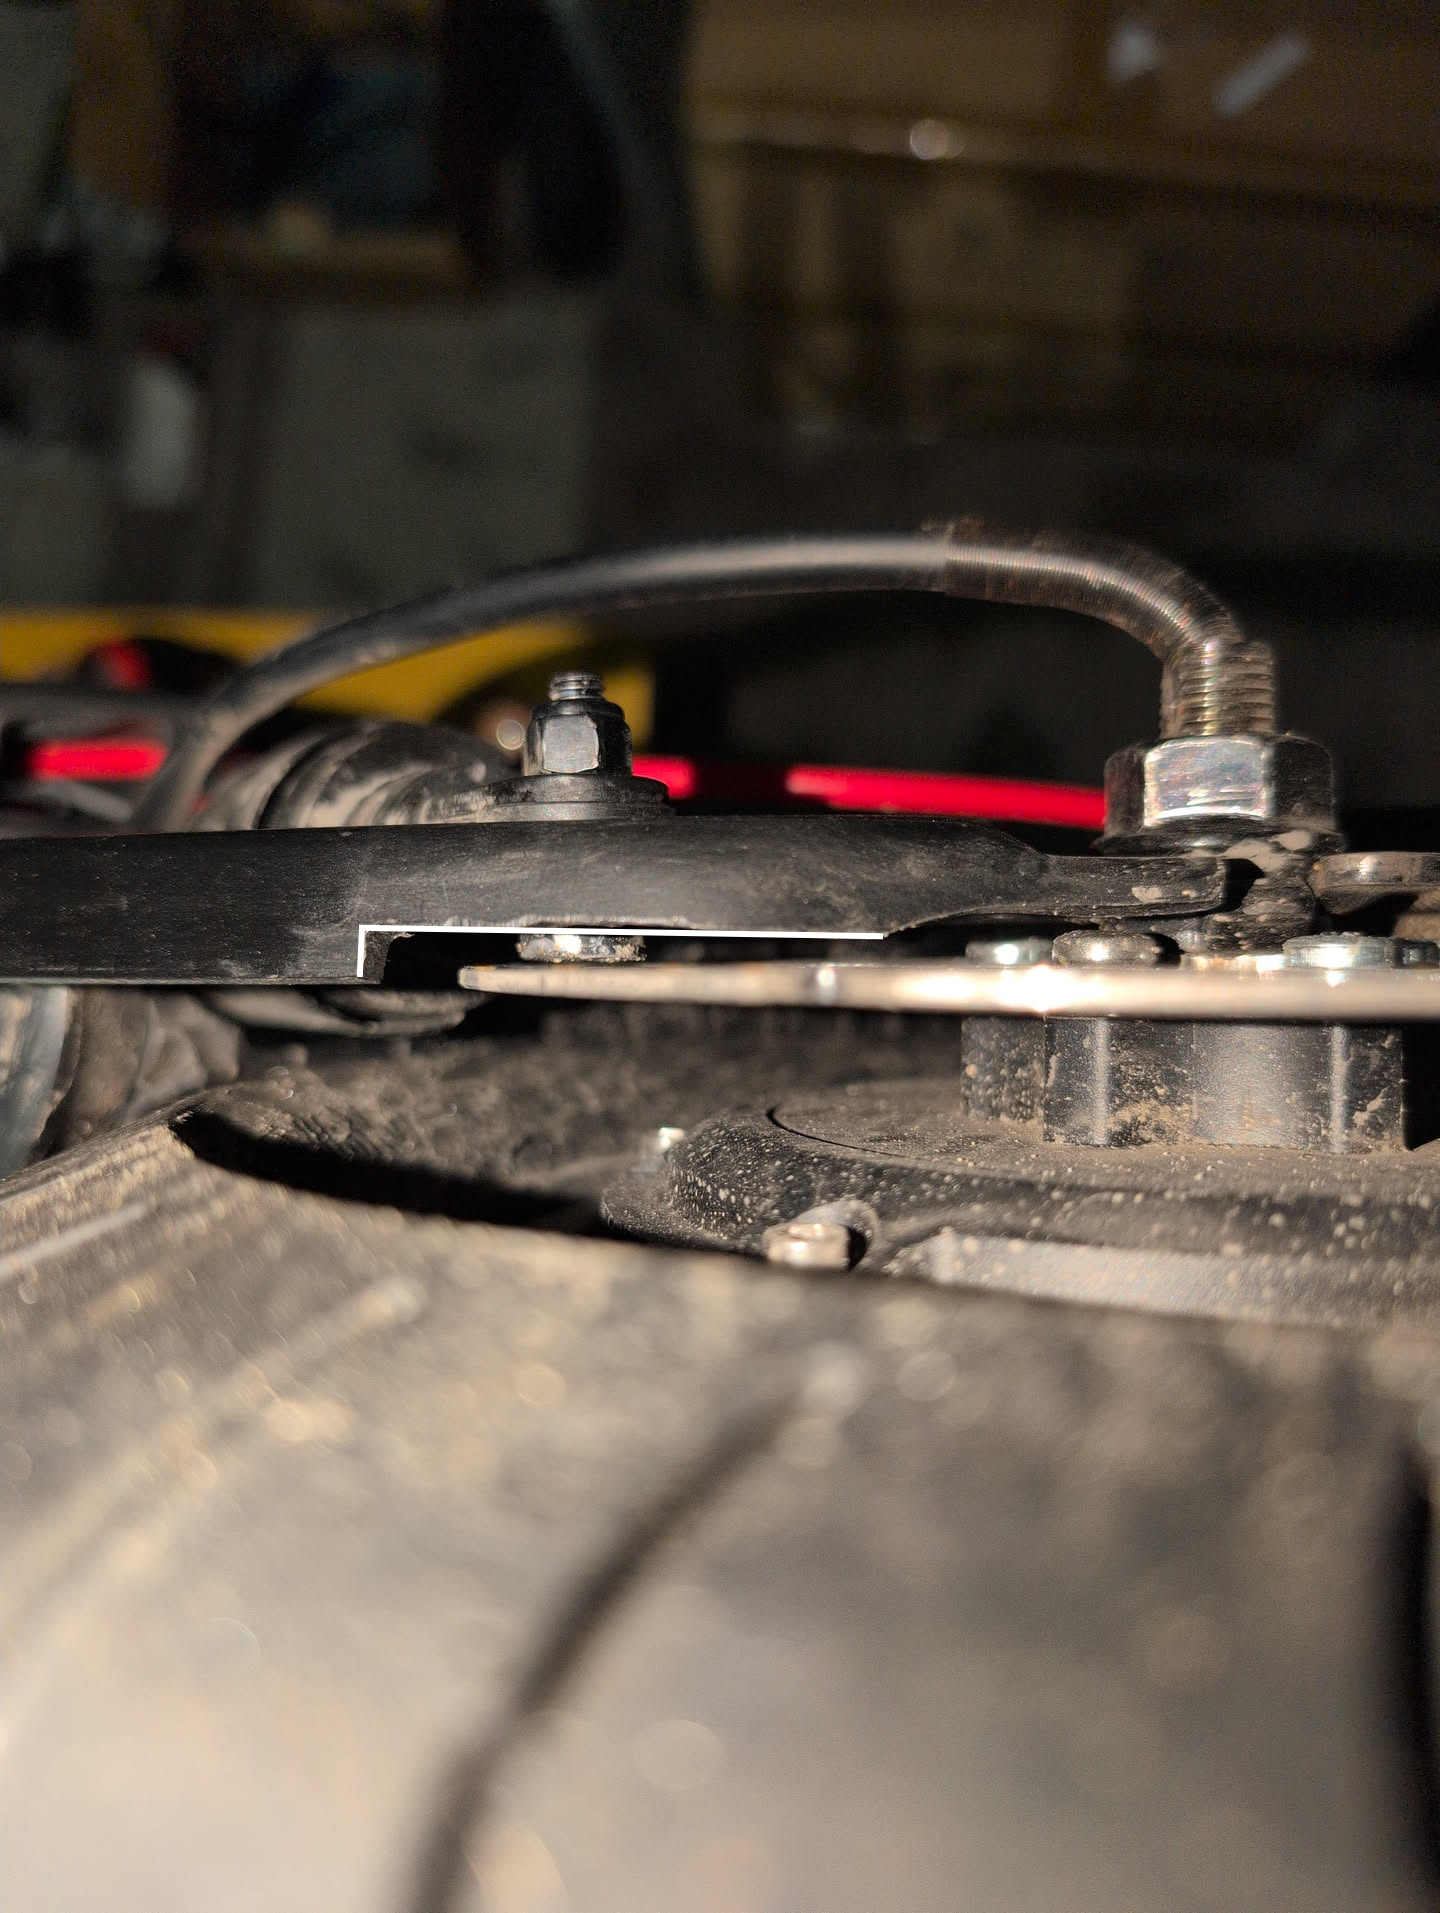
Step 3 - Modifying the suspension housing
This modification is necessary because, otherwise, the brake disc would strike the spring housing when the spring compresses. I don't have a perfect solution to this issue, but you can cut a square out of the housing so that when the spring is compressed, the brake disc doesn't hit the housing.

Step 4 - Mounting the brake adapter
Next, you need your 2× M6×8mm screws. Mount the brake adapter in the same location as the original and secure it with Loctite.
Step 5 - Swapping the inlet side on the Magura MT5
If your brake caliper already fits without modification, skip this step.
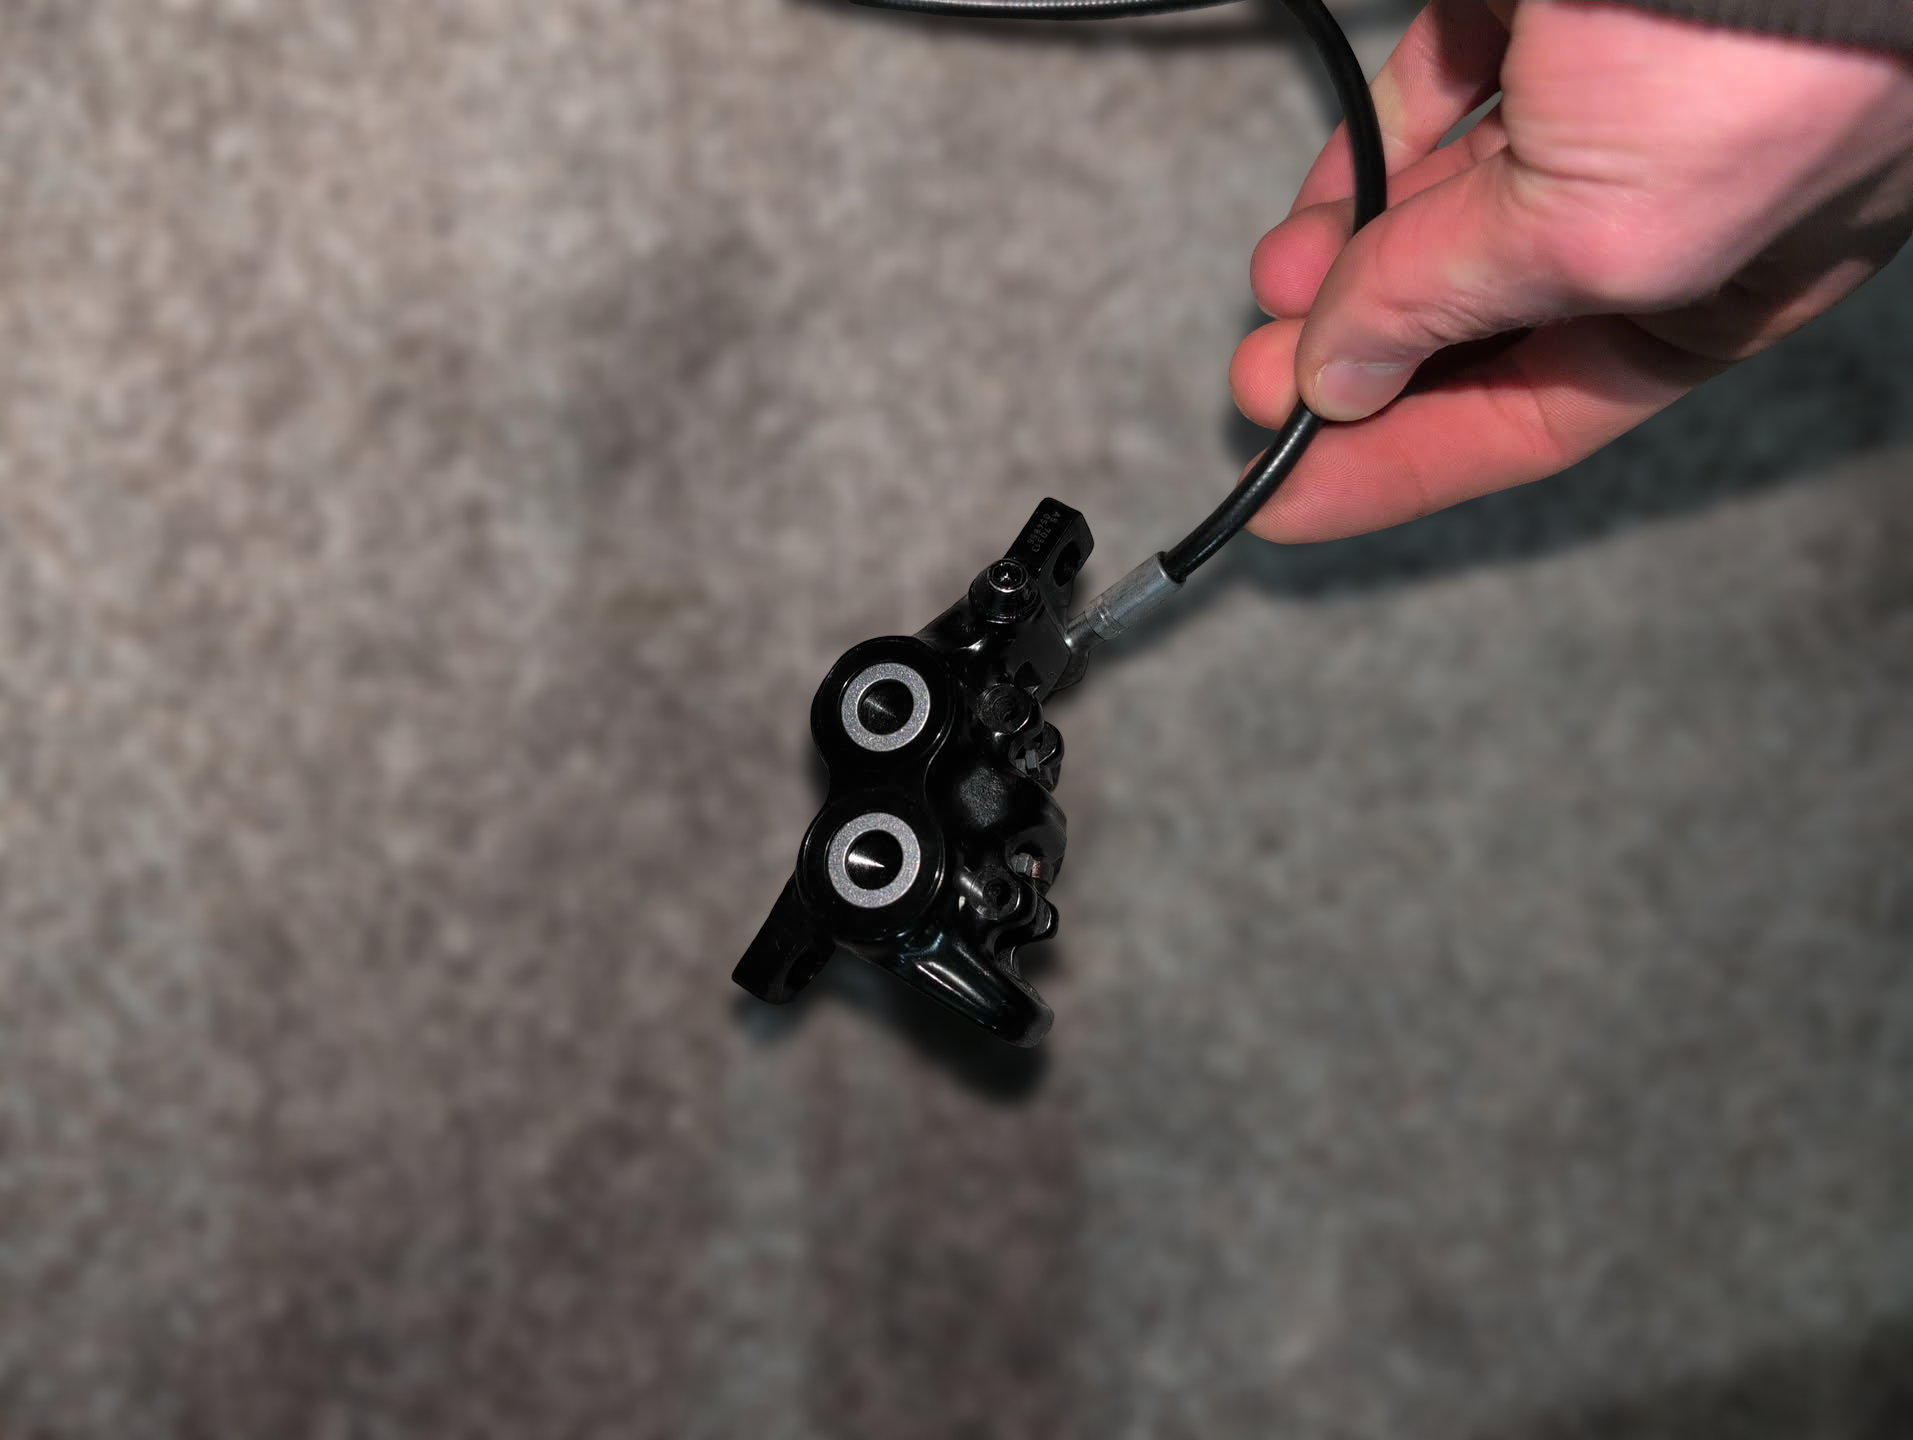
Remove the stock brake line from the original inlet side and close the hole with a screw that fits (I use one from my brake disc), preferably with dried Loctite to prevent leakage.
Next, mount the new banjo with the new screw onto the opposite side of the brake caliper. Don't forget the upper and lower rubber rings!

Step 6 - Install brake disc and Motor
Before you install your motor, take the brake disc spacer and mount your brake disc onto your Lonnyo 60H motor. Pay attention to the direction of rotation of the brake disc.
Now is the time to install your motor. On the brake disc side, put on the 2mm washer and the 4mm washer facing outwards. No washer is needed on the other side.
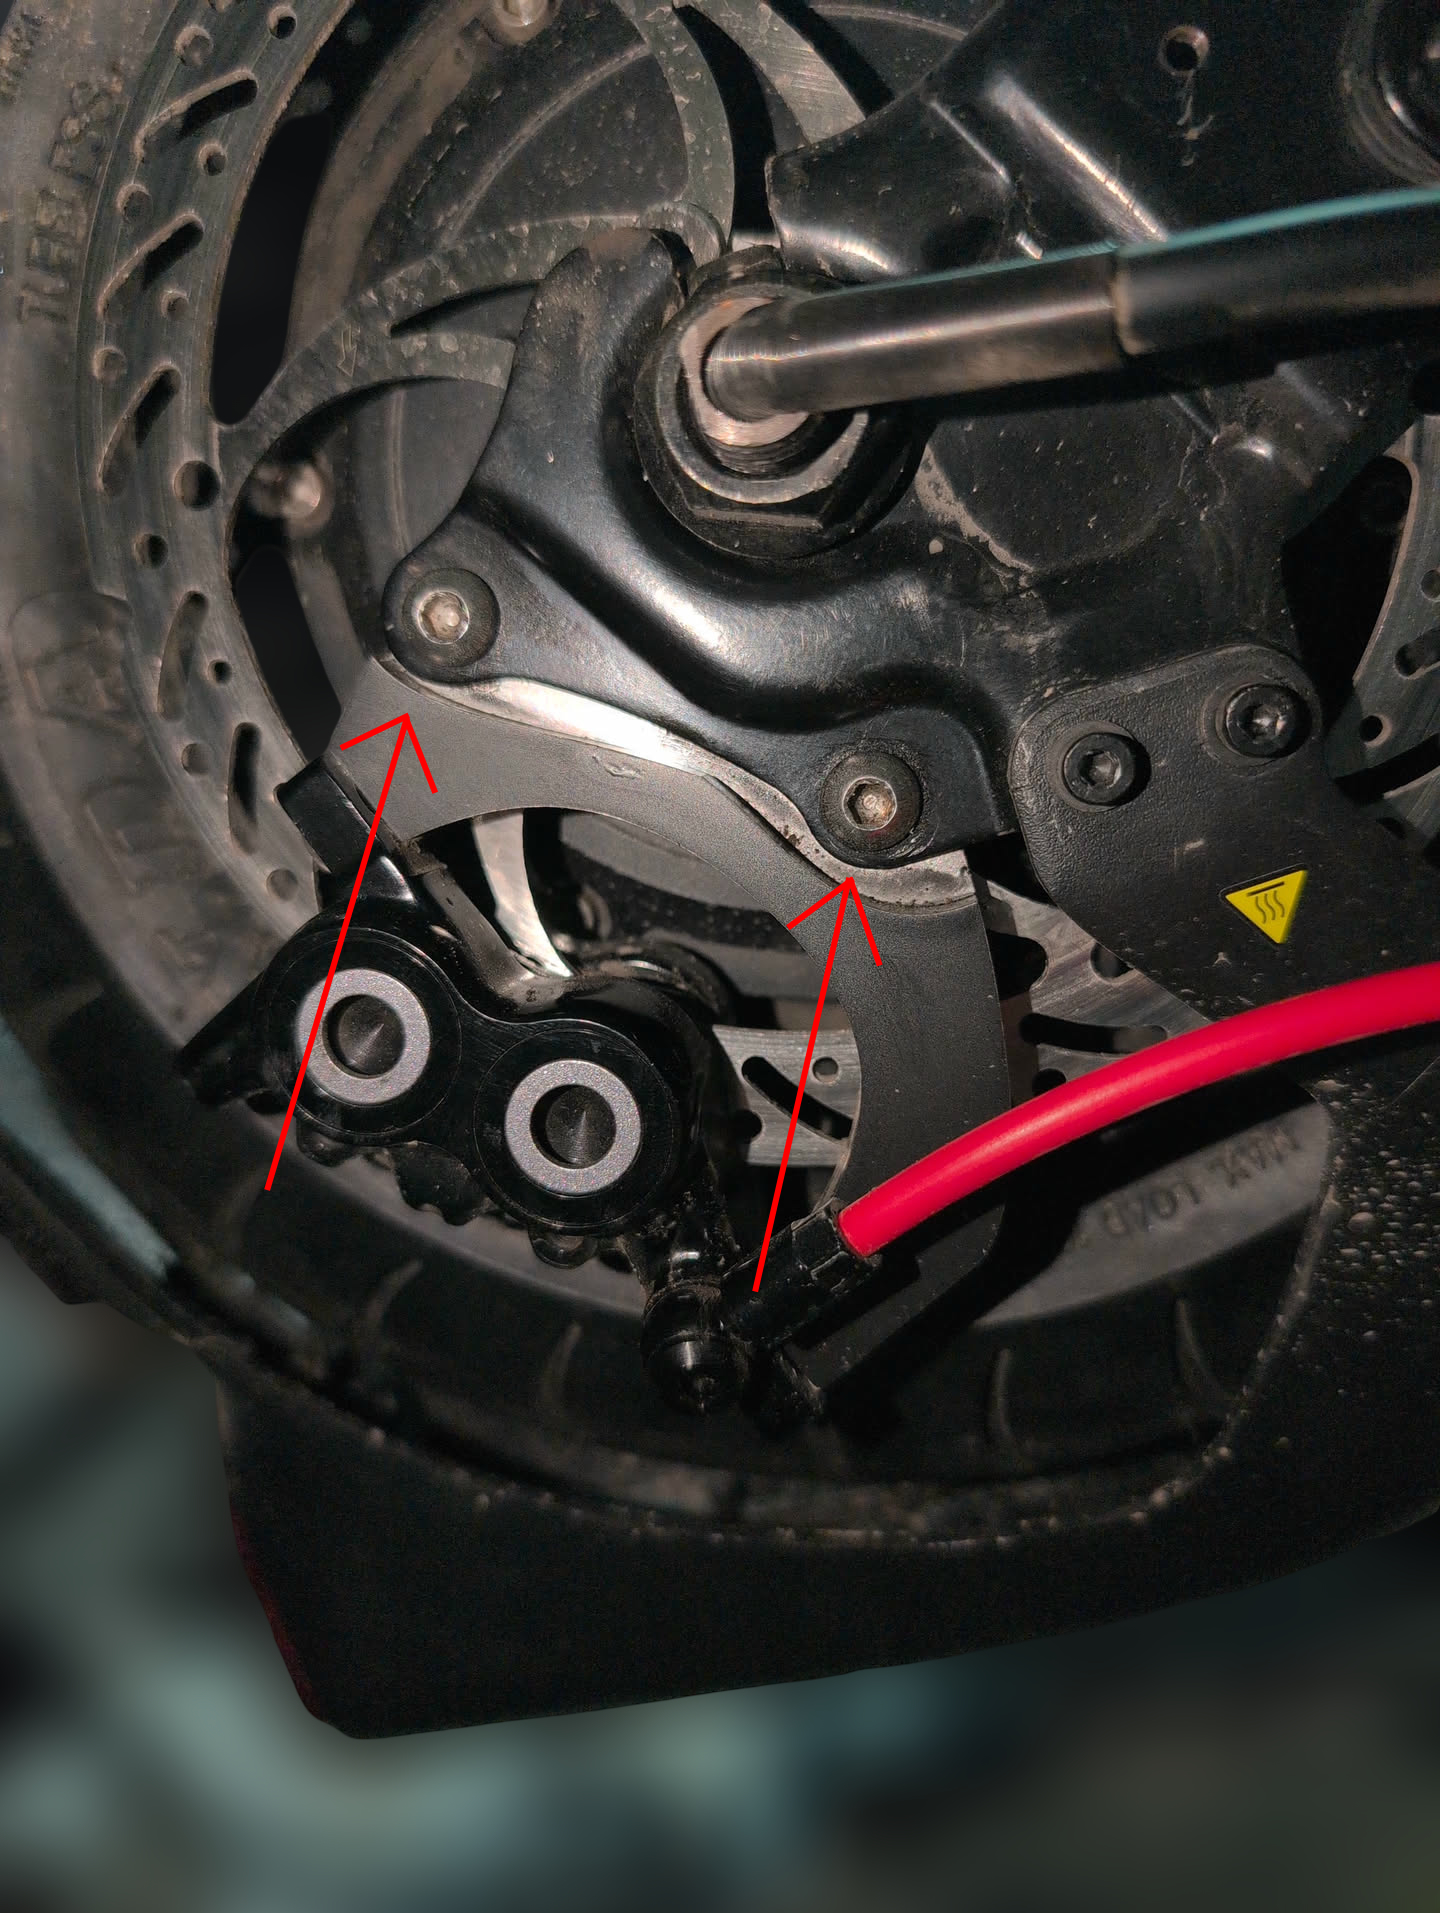
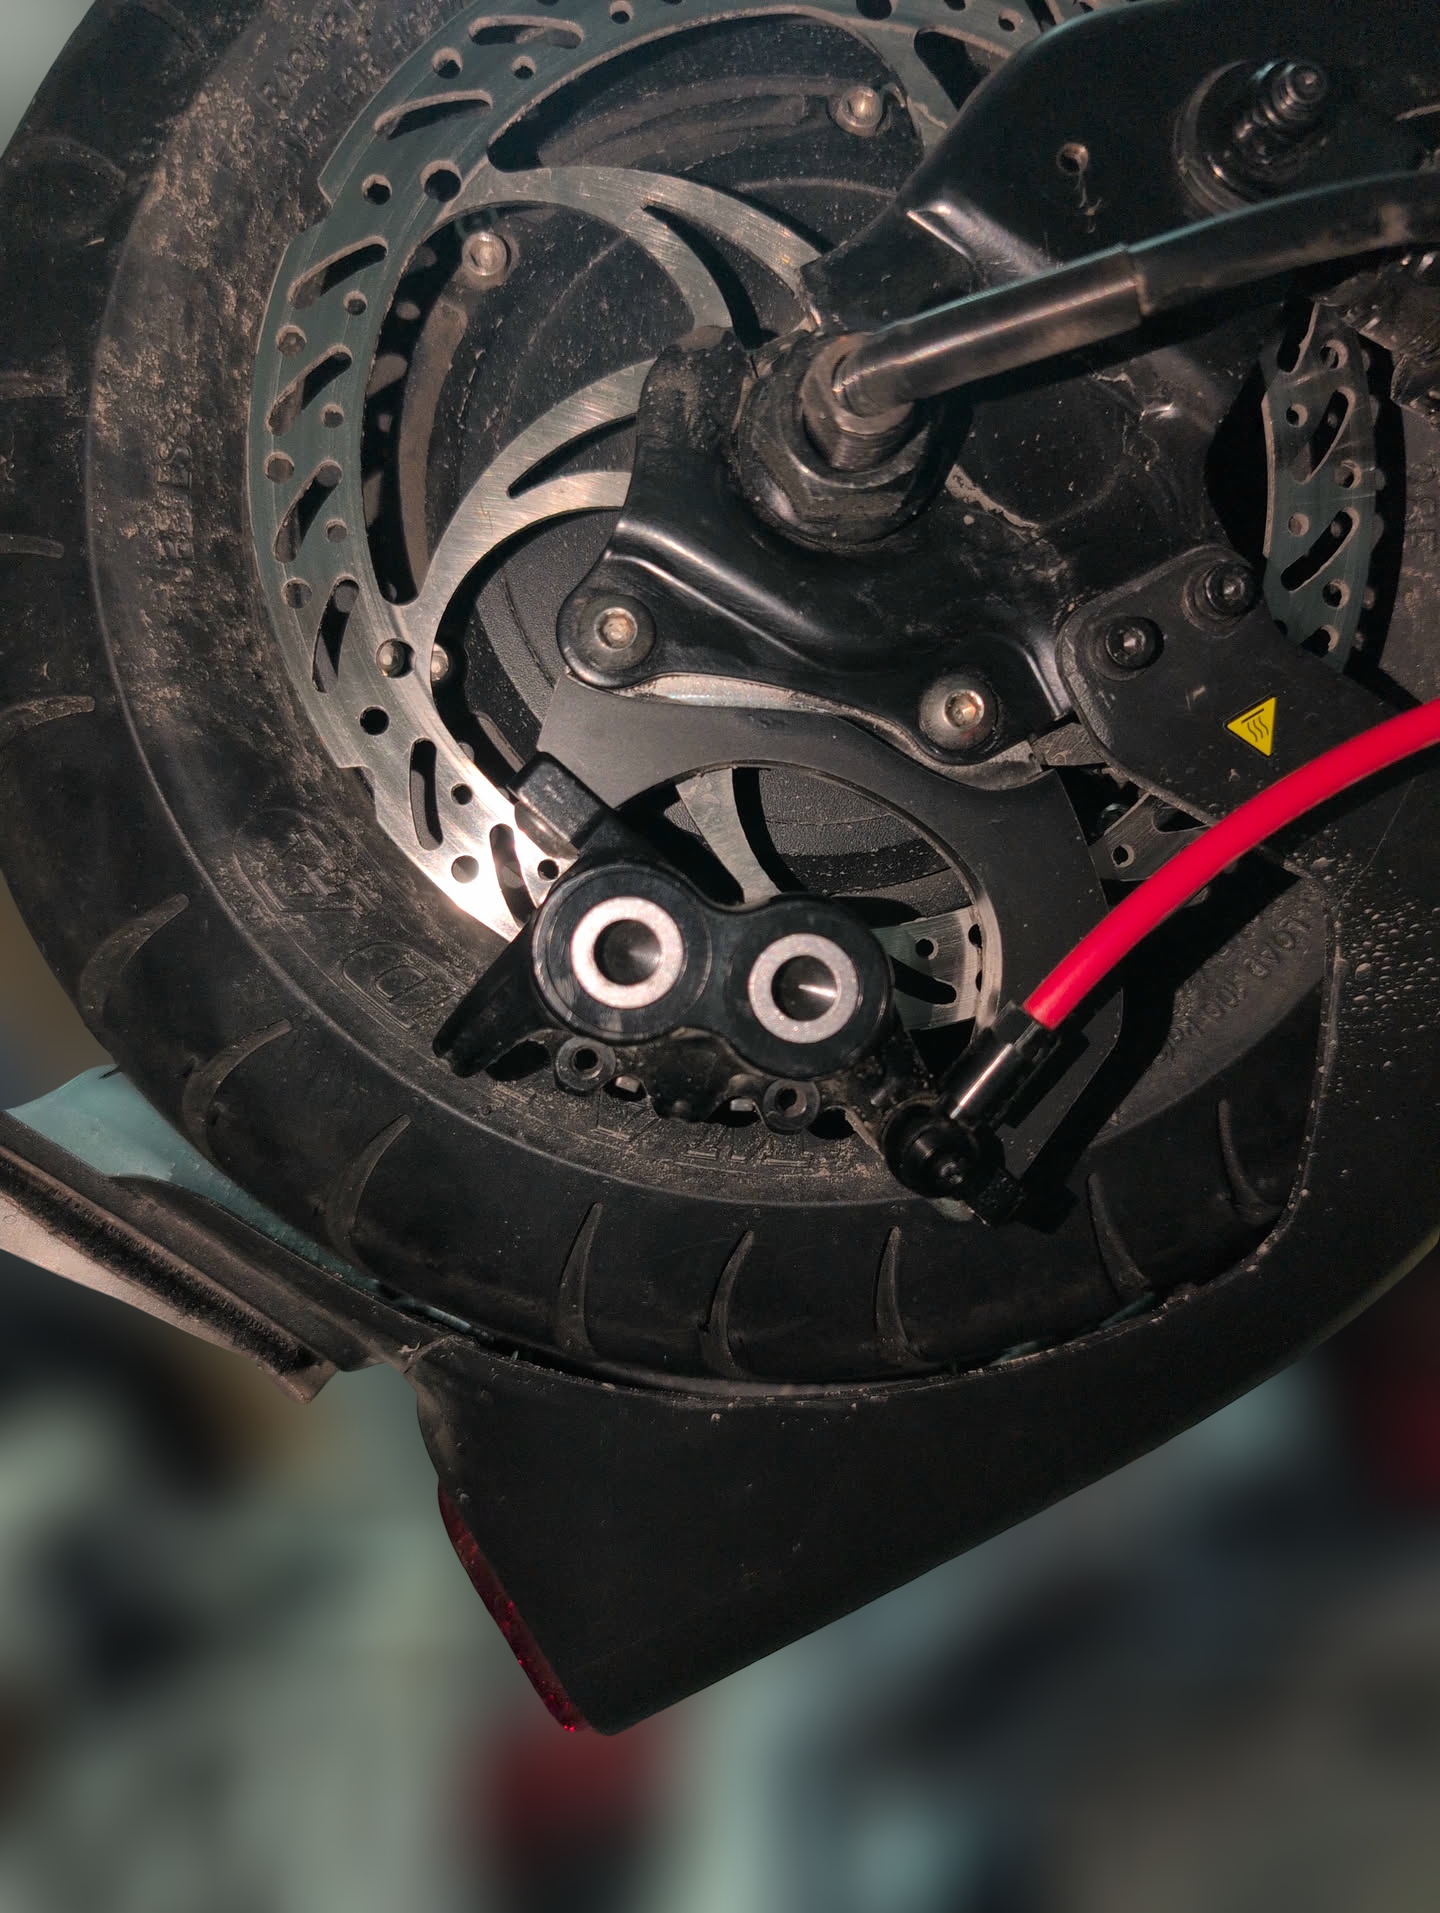
Step 7 - Mount your brake caliper
Next, put the brake caliper onto the brake adapter and screw them both on so that the disc itself doesn't rub against the caliper pads.
The final result should look like this:
Step 8 - Modify the rear mudguard
For the tires I use, I had to modify the cable routing inside the mudguard.

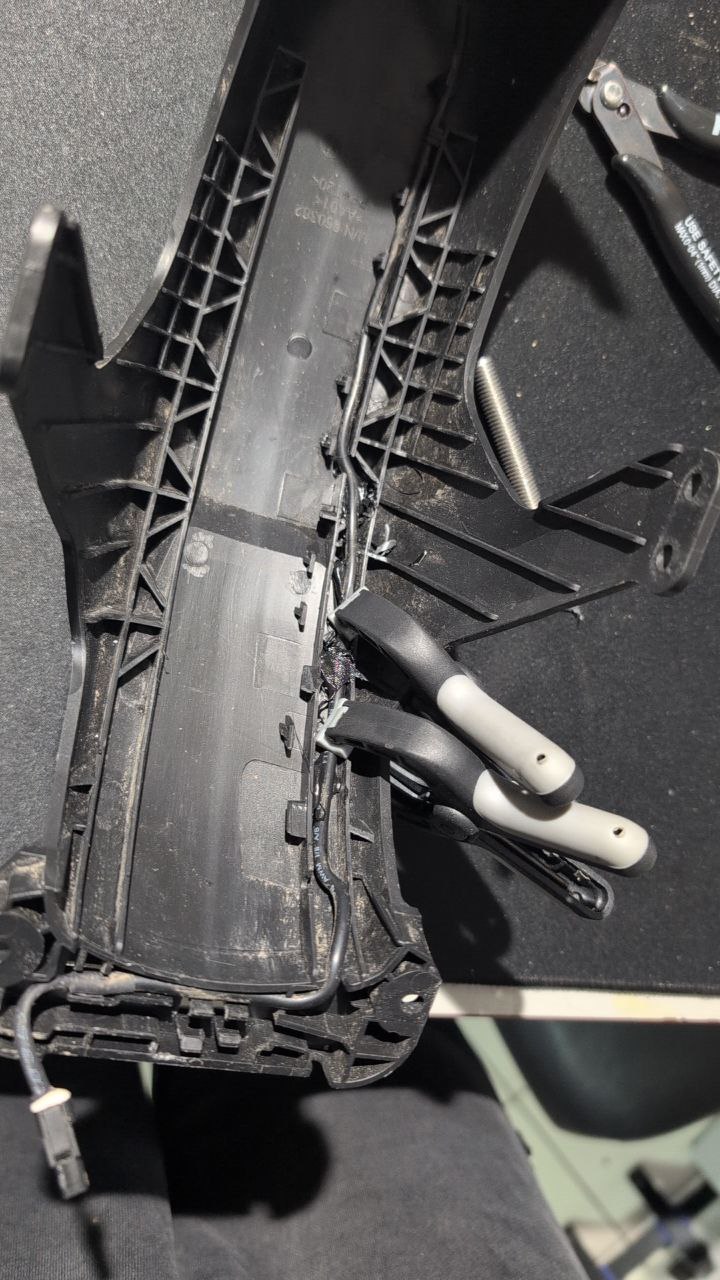
Done!
Did I forget something or was anything unclear in this documentation? Contact me here